
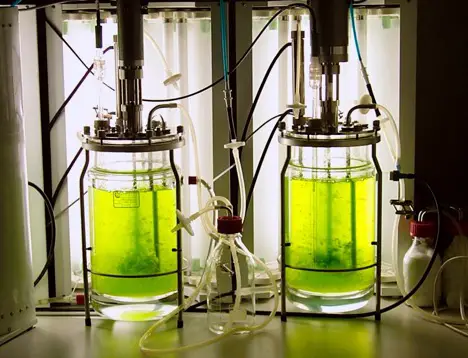
Don’t worry, you don’t need a bio-reactor (pictured to the right) to propagate moss. You can probably do it for free with what you already have.
To propagate moss at home: start with collecting a sample. Obtain low mineral water (distilled, rain, or reverse osmosis is best). Clean the your collected moss by repeated submerging to force insects to float. Repeatedly soak and rinse until the water is clear (Like sushi rice!) Place a 1-2” layer of drainage material, a 1-2” layer of activated carbon or lumpwood charcoal, a mesh barrier, a 1-2” layer of low nutrient, well draining soil, and finally the moss on top. Mist thoroughly. Cover with a clear lid and put under moderate light.
This technique was largely adapted from the SerpaDesign Youtube channel. If you haven’t checked out his videos, he’s definitely an authority on all things moss. I’d love to come up with my own technique, but his works so well!
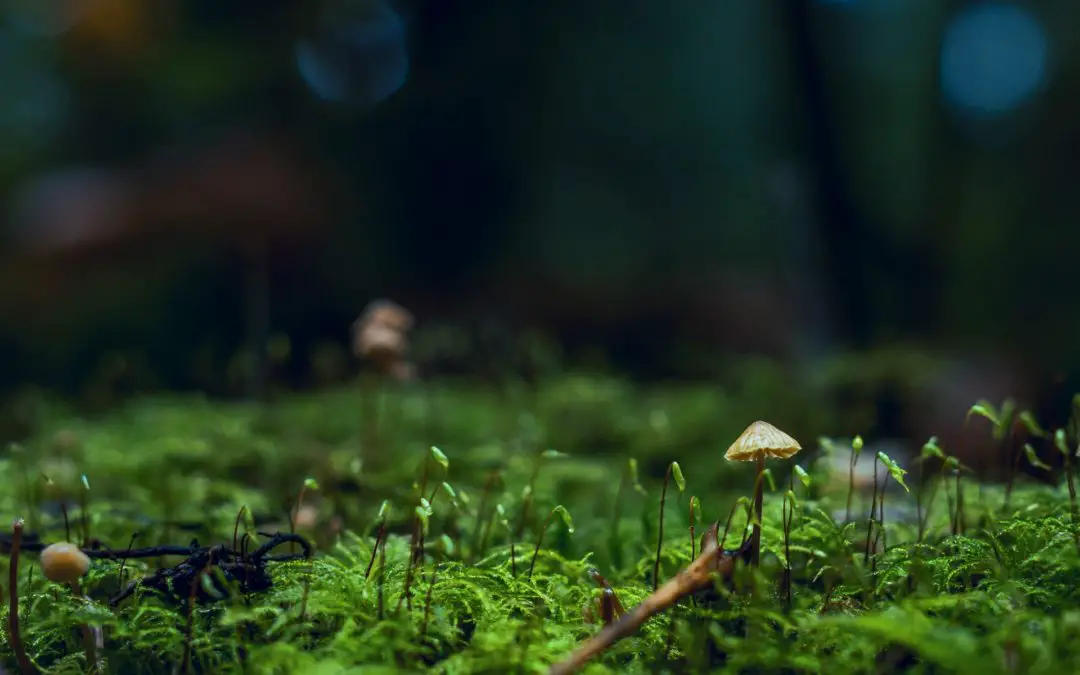
Moss is an ancient, primitive form of plant life. Much of their past has been lost to time because of their fragile structure, they don’t often survive fossilization. They’ve been around a long time, but they evolve slowly. In that way, they’re a portal back in time.
There are somewhere around 12,000 species of moss. They like moisture. A lot.
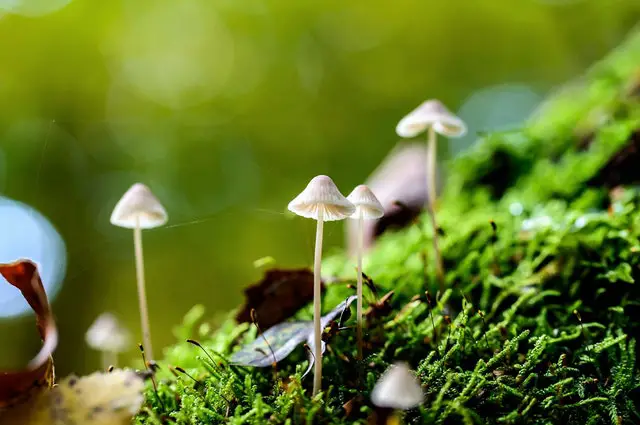
Moss grows quickly and densely when it has enough moisture. And it’s more light tolerant than you would think. It’s not that it doesn’t like light, it’s that strong sunlight can dry it out. So if you keep it moist, a lot of species can tolerate intense light.
What’s the best way to get access to moss? Chances are you have some growing locally.
How to collect moss locally
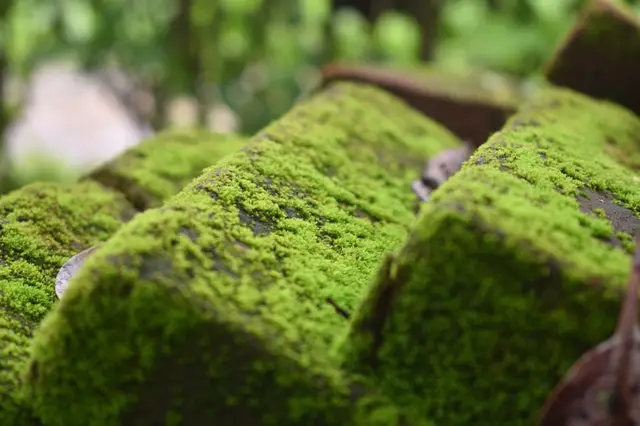
 You can find moss anywhere almost. Sidewalk cracks, forests, concrete walls, order it online, find it in your yard. Cracks in concrete. Look for moisture, shade, and areas with less maintenance. Moss can do fine in direct light, but they’re often prone to drying out so look for moister areas.
Carry a Tupperware or large ziplock bag for your gathering trip. Scoop some up and pack it away. Don’t remove the whole patch so it can grow back, practice a little sustainable harvesting. You probably don’ t need to be greedy and harvest the whole patch, just walk a little further and you’ll find more, and have some left for next time.
If you’re unable to collect moss locally: you can also check out local groups. Your area could have local gardening, terrarium, or vivarium communities. A good place to start is an online search, if that fails you could reach out to local pet shops or plant nurseries and ask them if they know anyone that’s into moss. Chances are they will.
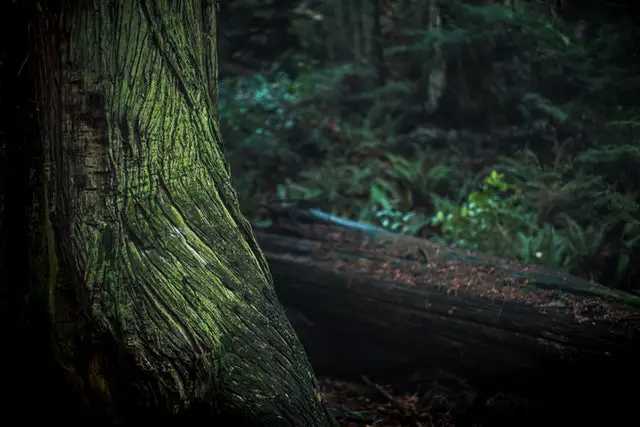
Fallen logs are another great place to look for moss. Some moss seems to grow really well on decaying wood.
How to propagate moss in your yard
Once you have some moss you can grow more! Propagating moss in your yard is quite easy if you have the right conditions. You want an area that won’t dry out quickly. These are often shaded. A lot of mosses can actually tolerate fairly intense light, it’s the drying out that causes problems.
 Good spots to consider:
- North side of garages, sheds or fences
- Under your deck
- Partially shaded areas
- Underneath trees
- Between houses
- Anywhere your grass isn’t growing great (but not if it’s drying out)
Once you’ve picked a spot, you want to set it up a good micro-climate for the moss. You want to be able to retain moisture, and stop the moss from drying out. Also if you found a moss growing in a particular setting, it will adapt quicker if you can set up something similar is your yard.
For example if you harvested some natural moss that was growing on a log. Grab a little bit of extra decayed wood and lay it down under the moss.
Keep the area moist and the moss will establish itself and spread
How to propagate moss indoors
Propagating moss indoors involved creating an artificial environment where moss will thrive. One of the key challenges is sealing in moisture, without letting anaerobic organisms thrive in a stagnant environment. You want to keep things fresh and well-draining, without letting things dry out.
A semi-sealed environment like a large plastic container or an aquarium work great. Correctly layering the substrate underneath the moss will help it stay moist and reduce unwanted growth of micro-organisms.
1. Assemble the ingredients, here’s what you’ll need and why
 Moss: You need some moss! Check out Tanner from SerpaDesign’s Moss collecting video. https://www.youtube.com/watch?v=hJAmG1pHqho
- A waterproof container with a clear top. This creates a humid micro-climate and lets light in. A Tupperware or plastic box that’s at least 6” deep will work great. You can find these are hardware shops, or large box stores like Walmart for organization.
- Drainage material: something to allow the moss and growing medium to drain. You can buy gravel, or find some outside. Be sure to wash it well.
- Low mineral content water: distilled, reverse osmosis or rain water work best. Moss isn’t tolerant of the high mineral levels that are likely present in tap water or ground water. Another option is a water conditioner that contains a chelating agent. Chelating agents bond with mineral ions, sequestering them.
- Low nutrient growing medium: a well-draining growing medium that’s low in nutrients is important. Moss has low nutrient requirements and tolerance. Make sure any mediums you purchase are pure, without added fertilizers. Mediums with a more acidic (high) pH are preferred. Don’t use peat moss, it breaks down quickly.
- Tanner from Serpa Design recommends a mix of sphagnum moss, coarse sand, fine bark and potting soil.
- Avoid ingredients with fertilizers.
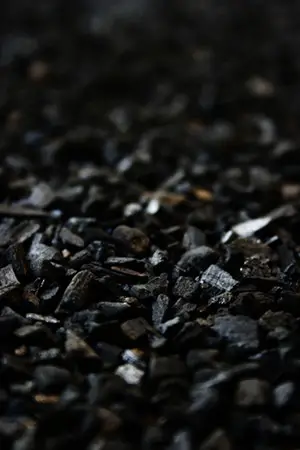
- Water filtration/freshening agent: Activated carbon or lumpwood charcoal have incredible surface areas for the amount. They clean water by adsorbing compounds and water contaminants to their enormous surface area. A pound of activated carbon can have over 32,000 square feet of surface area.
- Mesh barrier: Keep your growing medium and moss separate from the water filtration/freshening layer, and the drainage layer. Anything that will let water through, but not soil will work. Knitting mesh, window screen, landscaping fabric, even a loose fabric will work.
- Lighting: You have a lot of options, moss is tolerant of a good range of lighting intensities. You want something with a good photosynthetic spectrum: Compact Fluorescent, LED bulbs or T3s should work great. LED is a really long lasting efficient option, so if you’re buying new lighting that’s what I’d recommend. You can turn the lights on and off, but a timer is more consistent and reliable than you are! (Set it for around half on half off).
2. Rehydrate and clean your moss
- Completely submerge the moss in low mineral water. This rehydrates the moss, and forces insects to float. Pick them out. You can do this in tupperware, a big pot, a bowl, a bucket. Anything will work.
- Repeat until the moss is clean, and the water is relatively clear.
- You can leave the moss underwater for a while before it suffocates, just don’t leave it for hours.
3. Place your drainage medium
- To create a bit of a reservoir and some space for the moss to breathe below it, add your drainage medium, likely a loose gravel. An inch or two should be enough. It gives excess water some room to drain into, and helps prevent things from becoming anaerobic (without oxygen) and rotting.
4. Place your activated or lumpwood charcoal layer
 This layer helps preventing nasty smells and decomposition. Charcoal de-odorizes and seems to help with bacteria buildup.
- Water the passes down through the moss will pass through this charcoal layer before ending up in the gravel.
- It’s a common component of aquarium and drinking water filters.
- Lumpwood charcoal is a lower cost alternative that gets the job done.
- It also helps prevent mold, and keeps things fresh.
5. Cut and Place your screening element.
- The screening element separates the growing medium and moss on top, from the charcoal and gravel below. It’s purpose is to allow water through, while retaining the growing medium.
- There are a lot of good options, and in a pinch you could omit this layer, but it helps keep organic matter out of the water below, which reduces decomposition, bad smells, and gives your moss the best chance.
- Anything that will let water through, but not soil will work. Knitting mesh, window screen, landscaping fabric, even a loose fabric will work.
6. Place your growing medium
- The growing medium is where the moss roots into. It provides a store of moisture, and some nutrients for the plants to grow.
- Moss prefers an acidic soil
- A mix of potting soil, sphagnum moss, fine bark chips, and sand is what SerpaDesign recommends, and he’s had incredible success so let’s go with that.
7. Place your moss
- Spread your moss out. You can lightly tug the moss apart to spread it out and give it access to more soil/growing medium. It will fill-in as it grows.
- You can put more than one type of moss in the same container, that shouldn’t be a problem.
- You can break large dense piece of moss into smaller sections to promote faster growth.
8. Mist thoroughly
- Make sure everything is nice and moist from the start. You want everything moist from day one.
9. Place under light
- If you have a lot of room near windows they can work great, or an artificial light source like a LED bulb, Compact fluorescents, or T3s. Any plant-growing spectrum light source will work (avoid incandescent).
10. Water infrequently
- Your plastic container or aquarium should keep the majority of the moisture in.
- You won’t need to water much (every two weeks to once a month)
- Check on it at least once a week to make sure it’s not drying out, and add enough water to keep it moist.
- You can add a weekly reminder in your phone if you think you’ll forget.
11. Quarantine the moss
 To make sure the moss isn’t harboring anything undesirable, keep it quanrantined. Keep it separate from other plants and pets for a few months to make sure it’s healthy and there aren’t any surprises. Especially if you’re considering adding it to a vivarium with living creatures.
Using live moss: moss walls, terrariums and vivariums
Unfortunately, living walls aren’t great environments for moss growth most of the time. Moss prefers high enough humidity that it creates issues in a living wall. A living wall with high enough humidity for moss growth could cause root rot for some plants and building damage or an uncomfortable environment for humans.
A growing trend is preserved moss walls. Moss can be preserved using glycerin, and installed (dead) on the wall. It preserves a lot of life-like qualities, and the look, but it’s not alive.
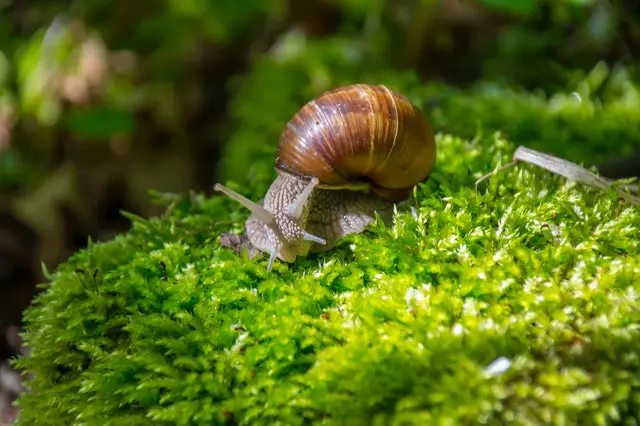
Moss really thrives in terrariums and vivariums, where the moisture is more contained. A terrarium is an enclosed, high moisture environment for plants. Vivariums are the same thing but with animals added. And there’s another variation called a paludarium which is a cross with an acquarium. A paludarium is a terrarium or vivarium with a mixture of aquatic and terrestrial parts.
All of these enclosure types have active online communities and endless content on youtube. They’re part hobby, part art, and part science. They allow for intricate aesthetic creations, as well as close study and experimentation. A particularly compelling type is the closed type. It involves sealing a terrarium into its own biosphere. So there’s no exchange of soil, water or air with the rest of the world.
These self-contained eco-systems can lead to some deep insights for space flight, space colonization, and ecosystem resilience and interdependence.
Conclusion
Propagating moss indoors or in your yard is easily attainable. Set up the right environment, don’t skip any steps, and you’ll have success. A lot of moss varieties are easy to grow, and it’s just a matter of taking your time, and giving the moss what it needs.
I hope you found what you were looking for!
Thanks for stopping by.
Sources
https://www.youtube.com/channel/UCGzXtNdhjPxvCNWFme1bG0g
https://de.wikipedia.org/wiki/Moosbioreaktor
https://en.wikipedia.org/wiki/Carbon_filtering

I’m Alex Lafreniere. I learned a lot about plants when I built and operated a landscaping company. But, there’s always more to learn. Ever since travelling across the world, I’ve wanted to find ways to bring more tropical and exotic plants into my life. This is the site where I share everything I’ve learned with you.
This site is owned and operated by Plant Hardware, a sole proprietor headquartered in Calgary, Canada. Plant Hardware is a participant in the Amazon Services LLC Associates Program, an affiliate advertising program designed to provide a means for sites to earn advertising fees by advertising and linking to Amazon.com.Plant Hardware may also participate in affiliate programs with Bluehost, Clickbank, CJ, ShareASale, and other sites. Plant Hardware is compensated for referring traffic and business to these companies.